

A Countertop Installation Guide is useful when you are planning a kitchen renovation, vanity top, island top, reception counter or any custom stone surface for your home or commercial space. Many Malaysian homeowners know how they want their finished kitchen to look, but feel unsure about what actually happens between choosing the material and seeing the countertop installed.
Professional countertop installation is not just about placing a stone slab on top of cabinets. It involves checking site conditions, taking accurate measurements, planning cut-outs, fabricating the surface, transporting it safely, fitting it correctly and making sure the final result is practical for daily use.
For homeowners, interior designers, contractors and property owners, understanding the process helps reduce stress. You will know what to prepare, what questions to ask and what to expect on installation day.
SolidTop Sdn Bhdsolidtop.com.my provides countertop design, material supply, fabrication and professional installation for residential and commercial projects in Malaysia, mainly serving the Klang Valley. This guide explains the installation journey in a simple, step-by-step way so you can plan with more confidence.
Countertop Installation Guide: What to Expect Before Work Begins
Before any countertop is installed, the project should begin with proper discussion and planning. This stage is important because every kitchen, cabinet layout and material choice is different.
A professional team will usually want to understand:
- The application, such as kitchen countertop, island, vanity top or commercial counter
- The selected material, such as quartz stone, granite stone, marble stone, sintered stone or solid surface
- The cabinet layout and support condition
- Sink, hob and tap positions
- Edge profile preference
- Backsplash or wall panel requirements
- Access route for delivery
- Any site conditions that may affect installation
For Malaysian homes, this is especially helpful because kitchen spaces can vary widely between landed homes, condominiums, apartments and commercial units. Some sites have tight lift access, narrow staircases or existing cabinets that need careful checking before the countertop is delivered.
At this stage, you do not need to know every technical detail. What matters is that the installation team understands your design intention and practical needs.
Step 1: Material Selection and Design Confirmation
The first practical step is confirming the countertop material and design direction.
Different materials have different characteristics. Quartz stone is popular for modern kitchens because it offers consistent colour, a wide design range and easy day-to-day maintenance under normal household use. Granite stone gives a natural stone appearance with unique patterns. Marble stone offers a premium and elegant look, but it requires more care because it is a natural material. Sintered stone and other compact surfaces may be considered depending on design needs and application.
During material selection, you should consider:
- Cooking habits
- Wet kitchen or dry kitchen usage
- Desired colour and pattern
- Cabinet colour
- Lighting condition
- Maintenance expectations
- Whether the surface is for residential or commercial use
For quartz stone countertops in the Malaysian market, common thicknesses are usually 15mm and 20mm. For granite stone, 18mm and above may be discussed where relevant. The suitable option depends on the material, design and project requirements.
This is also the time to confirm the edge profile. Common edge profiles include straight edge, pencil edge, bevel edge, bullnose edge and waterfall edge for selected island designs.
Step 2: Site Readiness Check
Before accurate measurement can happen, the site should be ready. This is one of the most important parts of a smooth countertop installation.
In general, base cabinets should be installed in their final position before measurement. If cabinets are moved after measurement, the countertop may no longer fit correctly. Walls, tiles, end panels and other surrounding finishes should also be considered because they can affect the final size.
A professional installer may check:
- Whether the cabinets are level
- Whether the cabinets are properly fixed
- Whether the wall is straight or uneven
- Whether there is enough support for the countertop
- Whether the sink, hob and accessories are confirmed
- Whether there is enough access for delivery and installation
If the cabinet structure is not ready or not level, the installer may advise that adjustments be completed first. This is not to delay the project unnecessarily. It helps protect the final result and reduces the risk of poor fitting, uneven gaps or future issues.
For homeowners, a good preparation tip is to avoid scheduling too many renovation trades at the same time. If carpentry, plumbing, electrical work and countertop installation all happen together without coordination, the site can become crowded and difficult to manage.
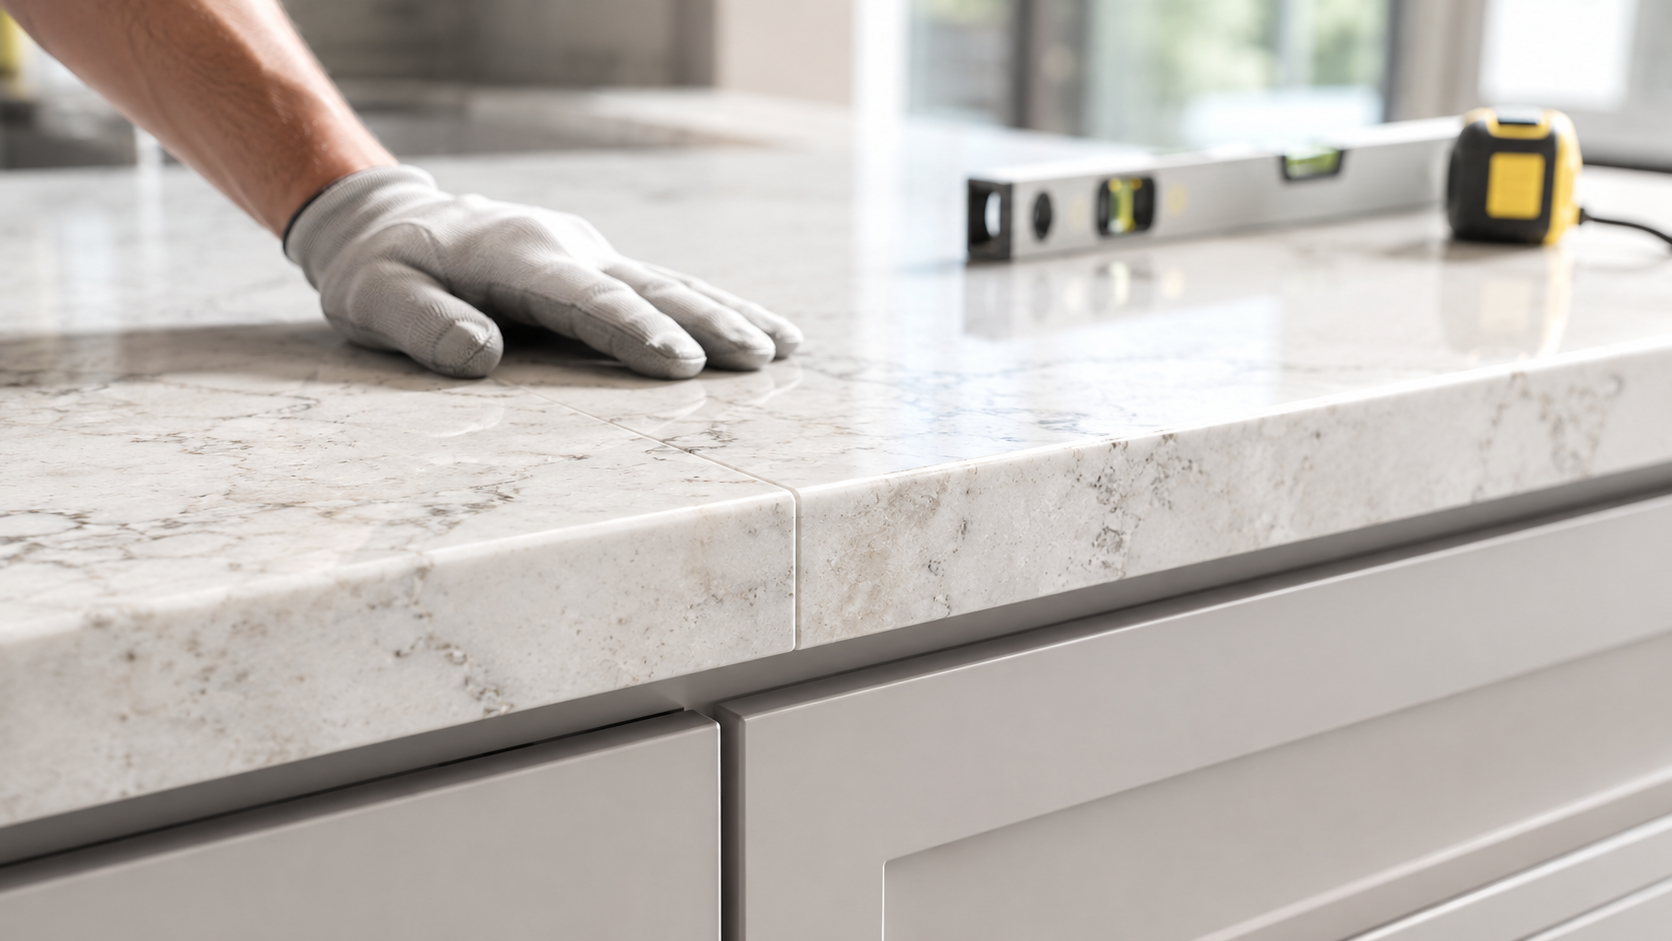
Step 3: Measurement and Template Taking
Once the site is ready, the installer or measurement team will take detailed measurements.
This step may include measuring the cabinet length, depth, wall angles, sink position, hob position, backsplash height and any special design details. For more complex layouts, a template or detailed drawing may be prepared to guide fabrication.
Accurate measurement is important because stone countertops are custom fabricated. Unlike loose furniture, a countertop must fit the actual site condition. Even small differences in wall angle or cabinet alignment can affect the final installation.
During this stage, homeowners should confirm:
- Sink model and actual sink size
- Hob model and cut-out requirement
- Tap hole position
- Edge profile
- Waterfall side panel, if any
- Joint or seam position, if required
- Any backsplash or upstand detail
If you are using an undermount sink or built-in hob, the actual product specifications should be available before fabrication. Relying on rough estimates can lead to inaccurate cut-outs.
Step 4: Fabrication at the Workshop
After measurement is confirmed, the countertop is fabricated according to the approved details.
Fabrication may involve cutting the slab to size, shaping edges, preparing sink and hob cut-outs, polishing selected edges and preparing any joint areas. This is a skilled process because the countertop must be made to suit the site layout and material characteristics.
For materials with strong veining or natural pattern variation, slab layout planning is also important. The team may consider how the pattern flows across the countertop, island or waterfall edge. For natural stone such as granite or marble, each slab has its own unique movement, so careful planning helps achieve a more pleasing result.
For engineered materials such as quartz stone, colour and pattern are generally more consistent, but fabrication accuracy remains very important.
At this stage, homeowners usually do not need to be present at the workshop unless specific slab viewing or pattern confirmation has been arranged. The main responsibility is to make sure all design decisions are final before fabrication starts.
Step 5: Preparing Your Home Before Installation Day
A little preparation can make installation day much smoother.
Before the installation team arrives, homeowners can prepare the area by:
- Clearing items from the cabinets and surrounding work area
- Ensuring the installation space is accessible
- Keeping children and pets away from the work zone
- Confirming lift access or parking arrangement if needed
- Making sure the site has adequate lighting
- Informing the management office for condominiums, if required
- Coordinating with plumbers or electricians for reconnection work where necessary
Countertop installation can involve heavy materials, tools, adjustment work and some noise or dust. The work area should be kept clear for safety and efficiency.
If you live in a condominium or apartment, it is helpful to check building management rules in advance. Some buildings have renovation working hours, lift booking requirements or loading bay procedures.
Step 6: Delivery and Handling of the Countertop
Stone countertops are heavy and must be handled carefully. Delivery is not simply a transport step; it is part of the professional installation process.
The team will usually check the access route before bringing the countertop into the home. Large pieces may require careful turning at staircases, corridors, lifts or kitchen entrances.
This is why access planning matters during the earlier stage. If a countertop piece is too large for the route, the design may need to include a joint or be fabricated in sections. A professional team will consider both appearance and practical handling.
During delivery, homeowners should allow the installers enough space to work. Avoid standing too close to the handling area because stone pieces can be heavy and difficult to manoeuvre in tight spaces.
Step 7: Dry Fitting and Position Checking
Before final fixing, installers may place the countertop pieces in position to check the fit. This is sometimes called dry fitting.
Dry fitting helps the installer confirm:
- Whether the countertop sits correctly on the cabinets
- Whether the wall gaps are acceptable
- Whether cut-outs align with sink and hob positions
- Whether joints meet properly
- Whether the overhang and edges look balanced
- Whether any minor site adjustment is needed
This step is important because real site conditions are not always perfectly straight. Walls may be slightly uneven. Cabinets may have small variations. Professional installers know how to check these details and make suitable adjustments where possible.
For homeowners, this is a good time to observe calmly and ask questions if something looks unclear. However, the installer should be given space to complete the alignment properly before final judgement.
Step 8: Fixing, Levelling and Joint Treatment
Once the fit is confirmed, the countertop will be positioned and secured using suitable installation methods for the material and site condition.
The installer may make small levelling adjustments to ensure the countertop sits properly. If there are multiple pieces, the joint areas will be aligned and treated. Joint visibility can depend on the material colour, pattern, lighting and layout. A well-planned joint should look neat, but homeowners should understand that some seams may still be visible, especially on certain materials or long countertop runs.
For sink and hob areas, installers will check the cut-outs and positioning. If an undermount sink is involved, support and finishing details are especially important. The exact method may depend on the sink type, countertop material and project specification.
Professional installation helps reduce common problems such as uneven surfaces, poor alignment, weak support, untidy joints or inaccurate cut-outs.
Step 9: Final Cleaning and Inspection
After fitting, the installers will usually clean the work area and inspect the countertop.
The final inspection may include checking:
- Surface alignment
- Edge finishing
- Joint appearance
- Sink and hob cut-out position
- Overhang consistency
- Backsplash or wall detail
- General workmanship
- Any visible damage from handling or installation
Homeowners should also inspect the countertop before the team leaves. If you notice anything unusual, raise it politely on the spot. It is easier to clarify small details while the installation team is still there.
Keep in mind that stone surfaces are practical building materials, not fragile decorative items, but they still require proper care. The goal is to make sure the installation is neat, stable and suitable for daily use.
Step 10: After-Installation Care and Usage Advice
Once your countertop is installed, you should follow the care advice suitable for your chosen material.
For quartz stone, day-to-day cleaning is usually simple. Use a soft cloth, mild detergent and water. Clean spills promptly, especially from strongly coloured liquids or acidic substances. Although quartz stone is scratch-resistant and stain-resistant under normal household use, it should not be treated as indestructible.
Good habits include:
- Use a chopping board instead of cutting directly on the countertop
- Use trivets for very hot cookware
- Wipe spills promptly
- Avoid harsh chemicals unless suitable for the material
- Do not stand or sit on the countertop
- Avoid heavy impact on edges and corners
For natural stone such as granite or marble, care requirements may differ depending on the stone type and finish. Always ask for material-specific maintenance advice.

Common Questions Homeowners Ask During Installation
Will countertop installation be messy?
Some dust, noise and movement should be expected, especially if minor adjustment is needed on site. A professional team will usually work in a controlled way, but homeowners should still clear the surrounding area before installation.
Do I need to be at home during installation?
It is helpful for the homeowner, designer, contractor or authorised representative to be available. This person should be able to answer questions and confirm decisions if anything unexpected comes up.
Can plumbing and electrical work be done immediately?
This depends on the site condition and the installation method. In many projects, plumbers or electricians may need to reconnect the sink, tap, hob or related fittings after the countertop has been installed. It is best to coordinate timing with the relevant trades.
Will there be visible seams?
Some countertop layouts require seams due to slab size, access route, design, material characteristics or handling safety. A professional installer will usually plan seams carefully, but complete invisibility should not be promised.
Why Professional Countertop Installation Matters
A countertop is used every day. It supports cooking, washing, serving, storage and family routines. In commercial settings, it may support customer service, work operations or heavy daily traffic.
Professional installation matters because it affects:
- How well the countertop fits the space
- How neat the finishing looks
- How stable the surface feels
- How accurately sinks and hobs are positioned
- How practical the countertop is for long-term use
- How confidently other trades can complete their work
Even a good material can perform poorly if it is measured, fabricated or installed incorrectly. This is why choosing a professional countertop team is just as important as choosing the stone itself.
SolidTop Sdn Bhd provides a one-stop countertop solution covering design, material selection, fabrication, delivery and installation. This helps customers manage the process more clearly, especially when coordinating with kitchen cabinets, interior designers, contractors or renovation teams.
Conclusion
This Countertop Installation Guide shows that professional installation is a careful process, not a single-day task of simply placing a slab on cabinets. From material selection and measurement to fabrication, delivery, fitting, inspection and care advice, every step helps create a countertop that looks good and works well for daily use.
For Malaysian homeowners, the most reassuring approach is to prepare the site properly, confirm all details early and work with an experienced countertop team that understands both design and practical installation requirements.
Need help planning your countertop installation? Speak with SolidTop Sdn Bhdsolidtop.com.my for professional advice on suitable materials, custom fabrication and installation for your home or commercial project.
How long does professional countertop installation take?
The timeline depends on the project size, material, site condition, fabrication requirements and coordination with other renovation works. Measurement, fabrication and installation are usually handled in stages, so it is best to confirm the schedule with the countertop team after the site has been checked.
What should I prepare before countertop installation day?
Clear the work area, remove items from nearby cabinets, confirm access for the installers and make sure the sink, hob and tap details are ready. If you live in a condominium, check renovation rules, lift booking and management requirements in advance.
Can I install a stone countertop before the cabinets are completed?
It is generally better for base cabinets to be installed in their final position before measurement. If cabinets are moved or adjusted after measurement, the countertop may not fit correctly.
Are countertop seams always visible?
Some seams may be visible depending on the material, colour, pattern, lighting and layout. Professional planning can help make seams neater, but it is not realistic to promise that all seams will disappear completely.
Is this Countertop Installation Guide suitable for quartz countertops?
Yes. This Countertop Installation Guide applies to general stone countertop installation, including quartz stone, granite stone, marble stone, sintered stone and other suitable surfaces. Specific care advice may differ by material.
Add a Comment